Getting Ready to Upgrade to Tubeless

Part two of a series
By Bruce Wells updated 2024-01-23

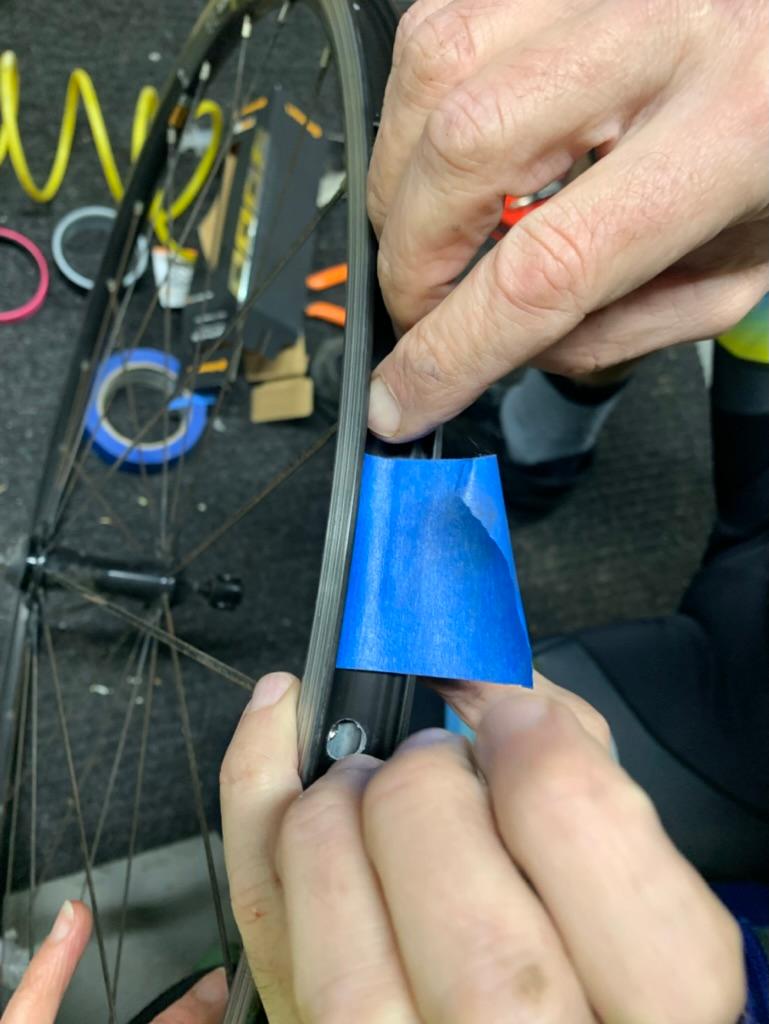
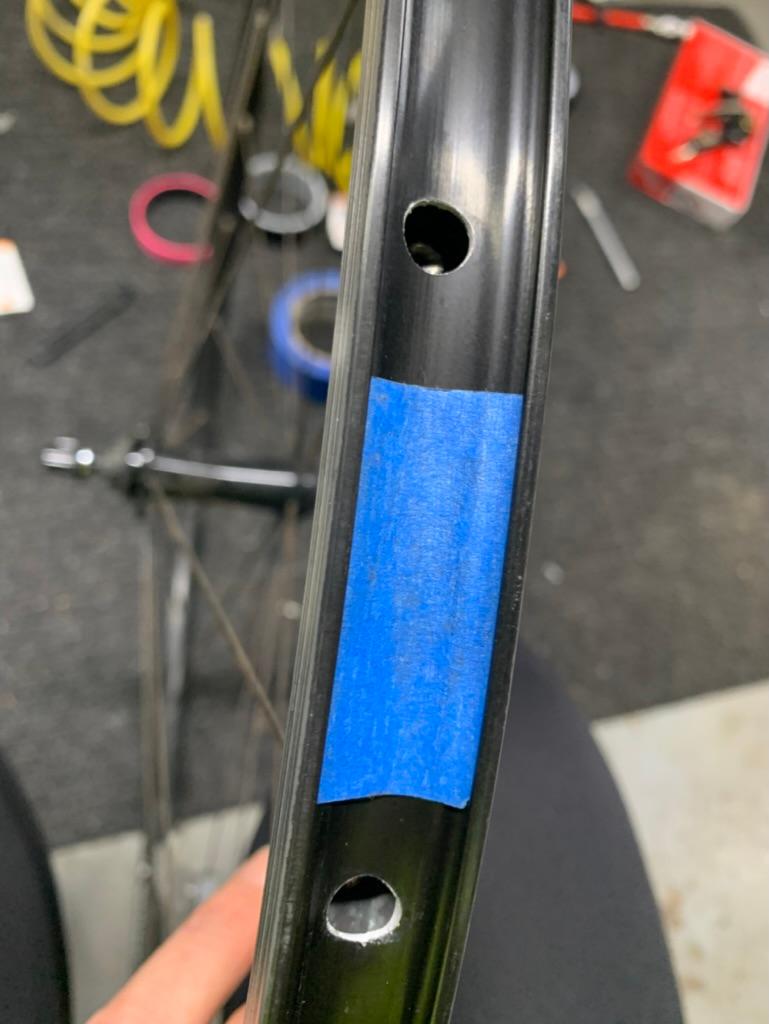
Once you have decided to upgrade to tubeless tires, the next step is to get ready to make the switch. You may be able to upgrade to tubeless tires on your current bike. If you decide to do so, this is a good winter project, and you can look forward to a nicer ride and fewer flats in the spring. So how can you go about switching over? 

Check Out Your Current Rims

Follow these 4 easy steps to ensure that your current rims and tires are tubeless compatible.


1.   The best way to figure out if your current rims and tires are tubeless compatible is to consult the manufacturer. They will often indicate on their website which year and models are "tubeless ready." Newer bikes tend to come with tubeless compatible tires, but are typically set up with tubes. 

2.    If you cannot find the manufacturer's information indicating tubeless compatibility of your rims and tires, you can figure it out by removing the tire and tube. Look at the rim profile. If it is tubeless compatible, it should have a ridge next to each rim sidewall. The difference between the cross section of a traditional versus tubeless tire would look something like this:


Tubeless Rim Profiles

3.   The next step is to remove the tire and tube and look at the rim strip.  If it is cloth or plastic, it will have to be replaced with tubeless rim tape. A tubeless ready rim will already have a nice rim strip covering all the spoke holes and stretch from one side of the rim to the other. Rims without spoke holes are also tubeless ready.

4.   If you need to replace the rim strip, you need to measure the rim width. (Note: you will need to remove the tubes and tires in order to measure the rim and before you purchase the rim tape).Take a piece of masking tape (or other easily cut tape), tape a square end to one side of the rim, press it across the rim to the other side, and use a razor to cut it square to the rim. ( See photos below) Remove the tape and measure the width in millimeters. This is the size of the rim tape you will need to purchase. 

Applying tape for rim measurement

Applying tape to the left rim side wall

Final taping for measurement

Tape cut even to both side walls

Items needed BEFORE you get started


  1. Tubeless rim tape of the right width. Costs about $10 - $15 on eBay.
  2. Tubeless stem of proper length so that it clears >2cm above the rim. You can get a pair for $10 - $15 on eBay.
  3. Tubeless tire compatible with your rim. A pair of Continental Grand Prix 5000 S TR Tubeless Road Tires have good reviews and can be had for less than $70 each if you look around.
  4. Tubeless sealant with nozzle applicator. I recommend Stan's NoTubes Tire Sealant for Tubeless Bike Tires. A16oz bottle costs around $20-23. Get two oz bottles to take on the bike for emergencies and for occasionally topping off tires.
  5. Presta Core Tool. This costs $2 or less on eBay.
  6. Air compressor with pump head or other source of massive air (CO2 inflators can work).
  7. Flat nylon ratchet tie down strap, at least 10 feet long to get around the tire. (Available at any hardware store)

Everything can generally be found on eBay or other bike sites. The total estimated cost around $200.

© Westchester Cycle Club 2024